This Page is Under Construction!
¶ Mount
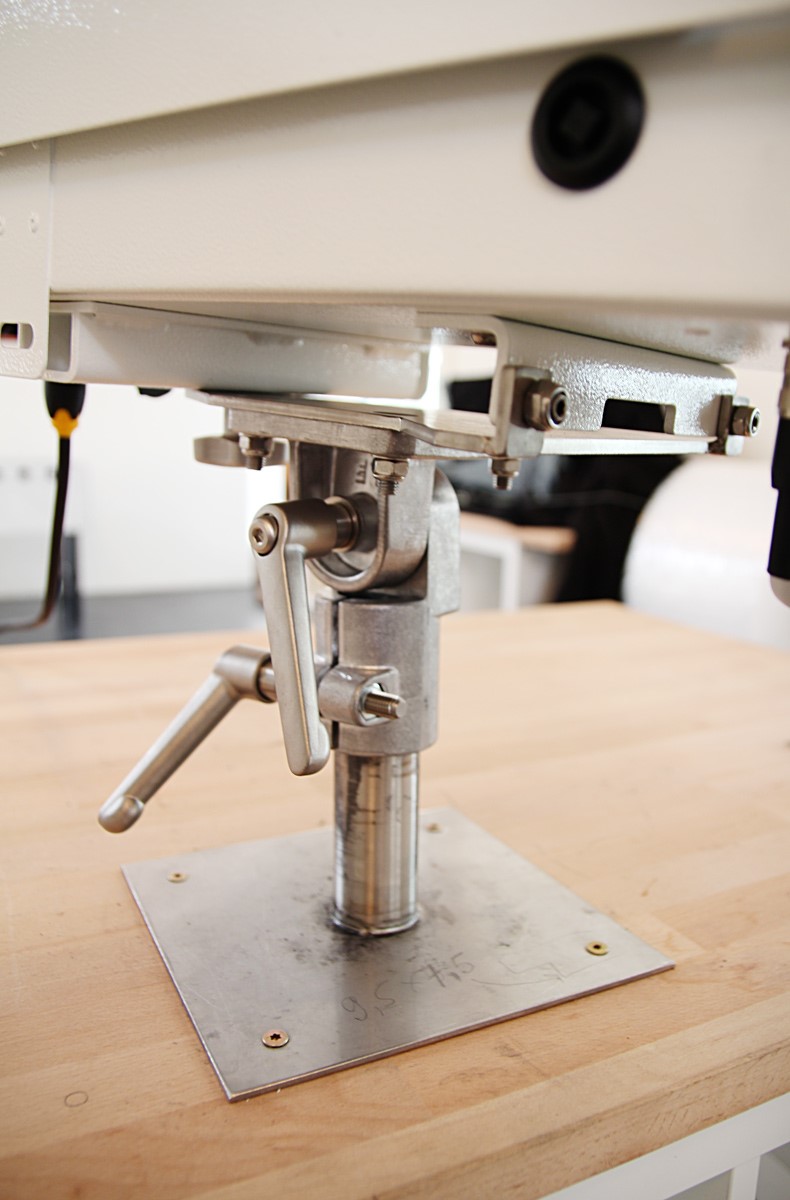
¶ Pan/Tilt Head
The camera system is directly attached to a pan/tilt head, which allows you to easily adjust the view of the camera left, right, up and down once mounted. This is secured to the chosen mounting point first, before placing the camera system.
The camera’s base plate has a large lip with two holes, that fit over two ‘nubs’ sticking out of the inside edge of the P/T head’s platform. Align the camera with the nubs first, when mounting it. They will hold the system secure, while you turn the screw to fix the rear of the base plate in place.
¶ Bracketry
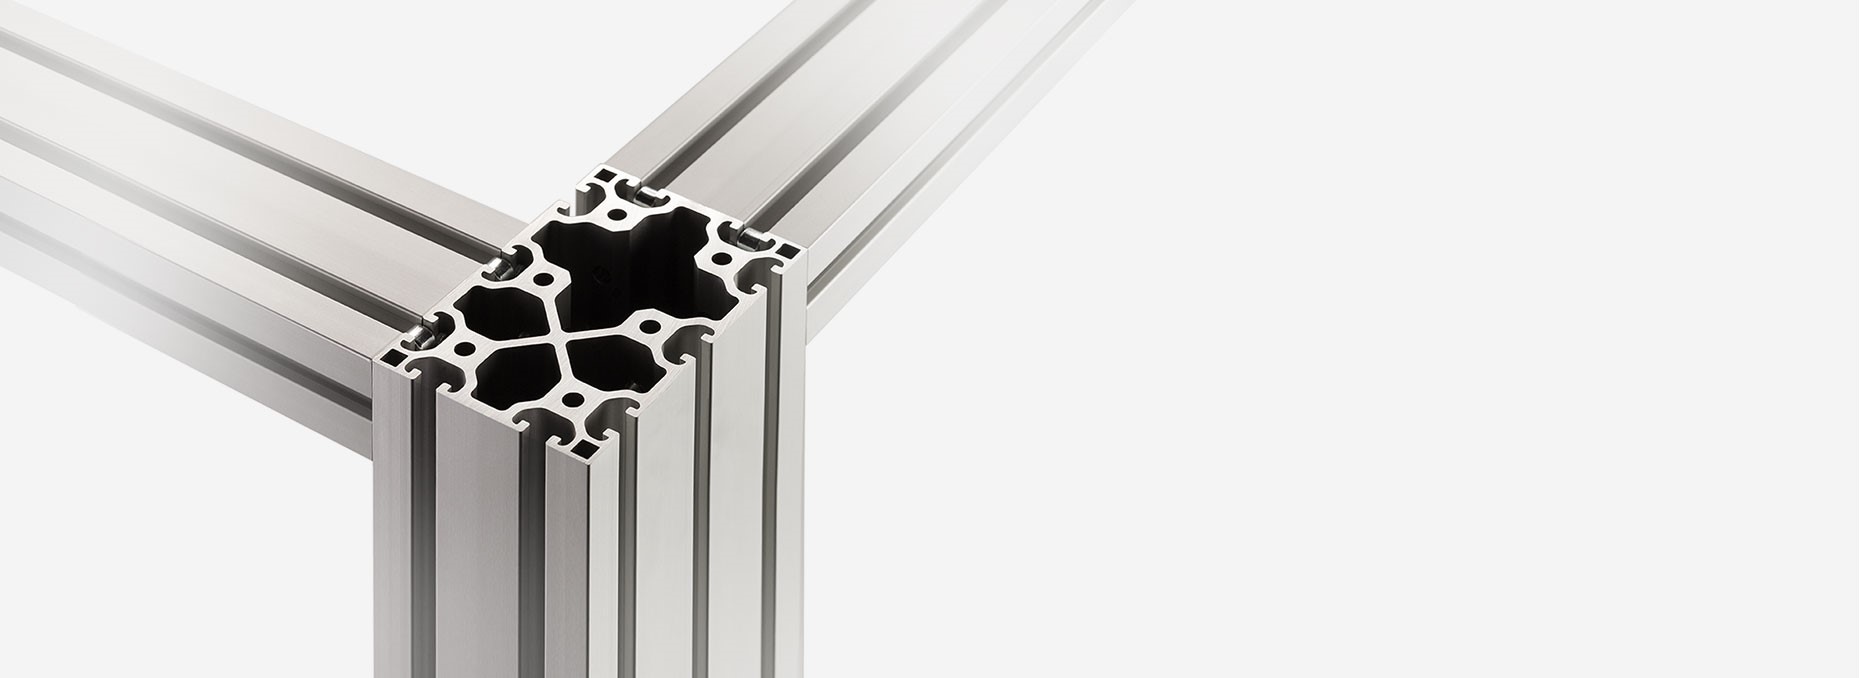 We frequently use an aluminium profile system made by or compatible with ‘item’ to build bracketry to form a mounting point for the camera systems.
This allows us to put together a strong and secure custom frame that fits onto or over roofs, walls, pillars, or beams. Consider it grown-up Meccano or LEGO Technic!
¶ Power
Our camera systems run at between 15W and 20W, can be powered by:
- 230V/110V AC mains electricity
- 24V solar power, via large batteries to hold the charge
A power supply should be in place before, or installed at the same time as the camera is installed.
Without power, the camera cannot be set up and focussed, and a confirmatory image cannot be sent to the client.
Occasionally it is possible to set up the camera with a battery, brought along by the person installing the camera.
¶ Mains (230V AC or 110V AC)
Our cameras are essentially 24V systems, but are connected to mains power via a weather-proofed (IP67) AC-DC converter.
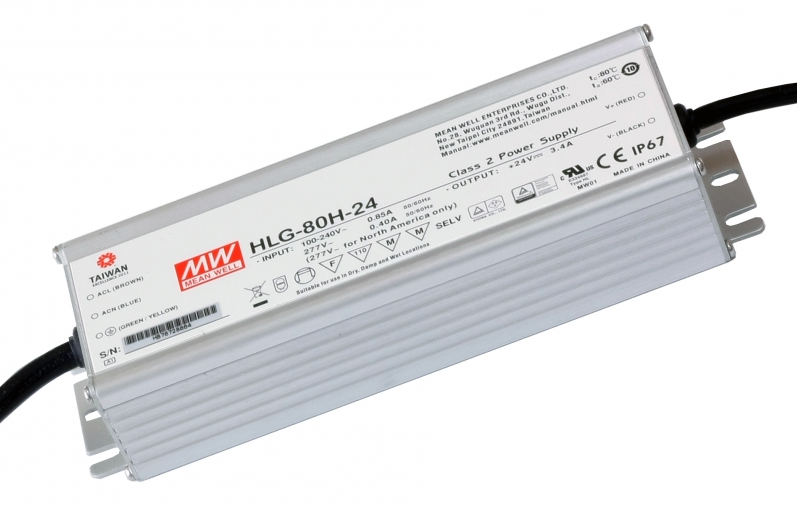
This can be wired up with any international plug system, or connected directly with a waterproof junction box where a plug/socket arrangement is too likely to become waterlogged.
¶ Solar (24V DC)
Depending on the part of the world where a solar system is installed, the precise set-up may vary.
In general, some batteries (totalling 24V at output), solar panel(s), and a charge controller are required. This is our usual set-up:

¶ Variable sunshine
In a location that is reliably sunny, with little change between winter and summer - it is likely a single solar panel will keep the 24V (or 2x 12V in series) battery topped up.
In a temperate area, with frequent overcast days and much weaker sunshine in the winter, at least 2 solar panels per camera may be prudent. Doubling the battery capacity (adding another 24V in parallel) is also a good idea, creating a buffer of power available for use during longer spells of poor weather.
In order to protect the batteries, we advise cutting off the power supply when the supplied voltage drops as low as 23V.
At the other end, the batteries should not be charged further than 28V. We can also monitor the voltage supplied to the camera system.
¶ Solar panel positioning
Depending on the latitude at which a solar panel is installed, there are different optimum angles from the ground at which it should be fixed. If in the northern hemisphere, panels should 'face' due south. They should face north in the southern hemisphere.
- To optimise overall production year-round, tilt your panels at your latitude.
- To lean toward more production in the summer, tilt your panels at your latitude minus 10-15°.
- To lean toward more production in the winter, tilt your panels at your latitude plus 10-15°.
As an example, Hamburg in Germany has a latitude of 53.5° and is often overcast. We would default to installing at an angle of about 55°, but if the batteries aren't getting enough charge in the winter, we should consider installing at an angle of around 65° instead.
For more information on this, please see this useful article at Unbound Solar.